Although recycling habits and eco-friendly holiday options are more common than in years past, holiday traditions present stubborn recycling challenges. Foil, glittery or plastic-coated wrapping paper, ribbons and bows, weary globe ornaments, and faded fake flowers or evergreen sprigs on the wreath – none of these can be recycled. Before sending these holiday castoffs to their final resting place in the dump why not repurpose them in an abstract art project? Acrylic painting, sketching and mixed media are great plays to “play with your trash.”
Acrylic painters are always on the hunt for unique ways to make marks. These can shape an artist’s work into a recognizable style. Why not use holiday trash to create a new and interesting look? There are also plenty of opportunities to experiment with collage and mixed media styles along the way! Foil, imagery and patterns off paper and cards, or tissue paper and flattened paper raffia all can create interesting images.
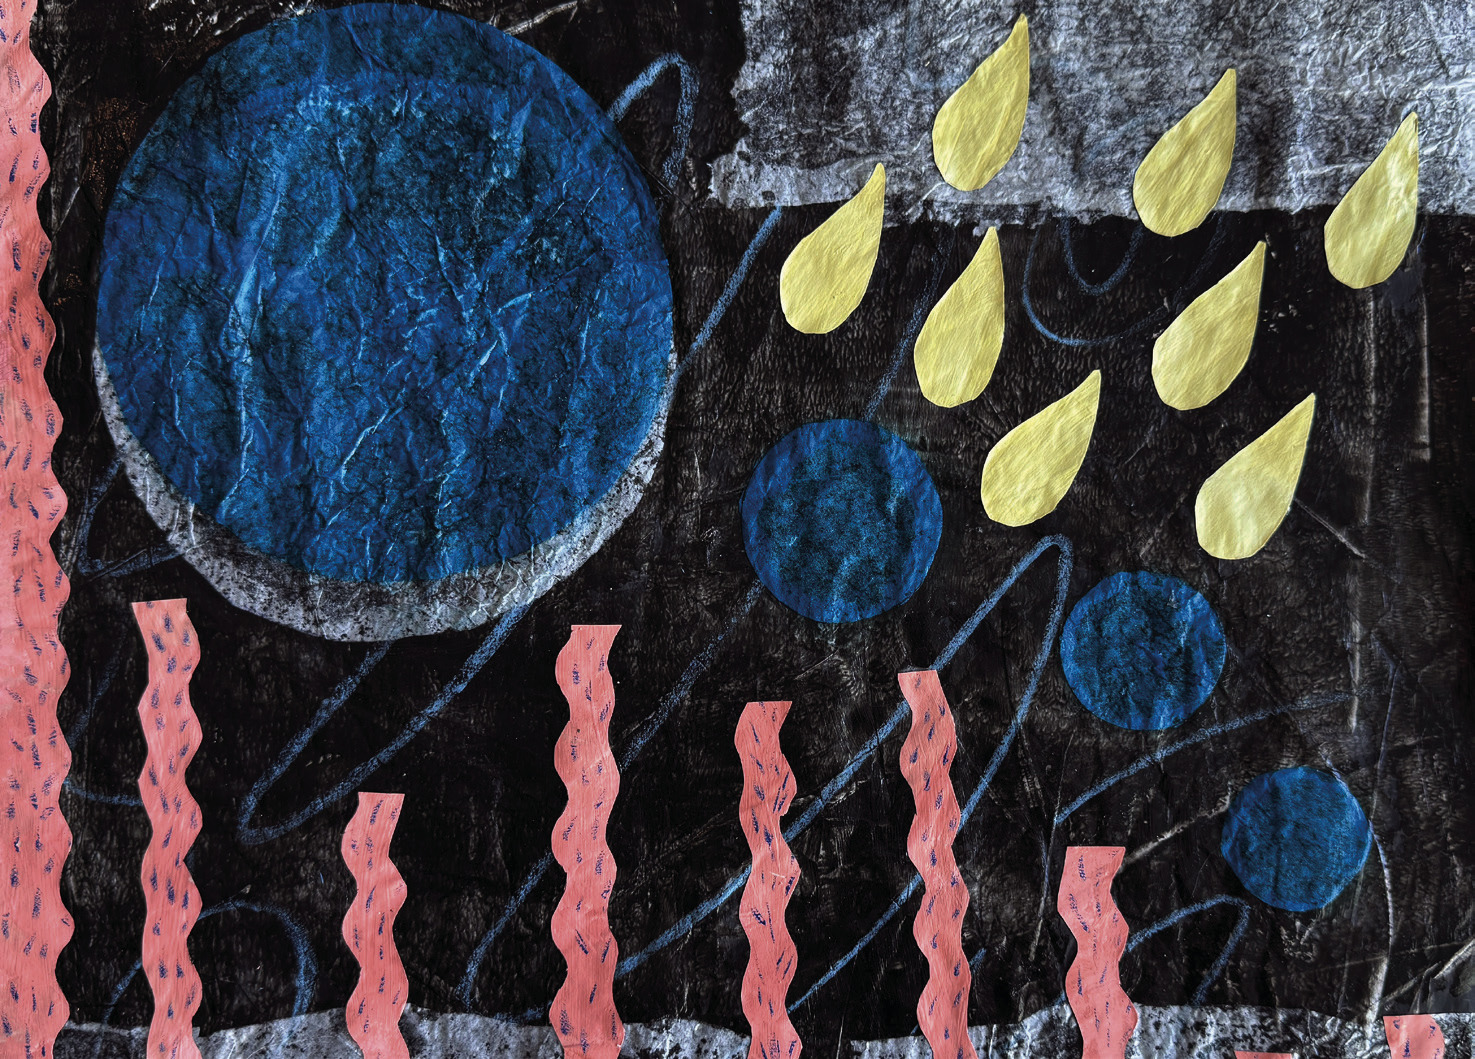
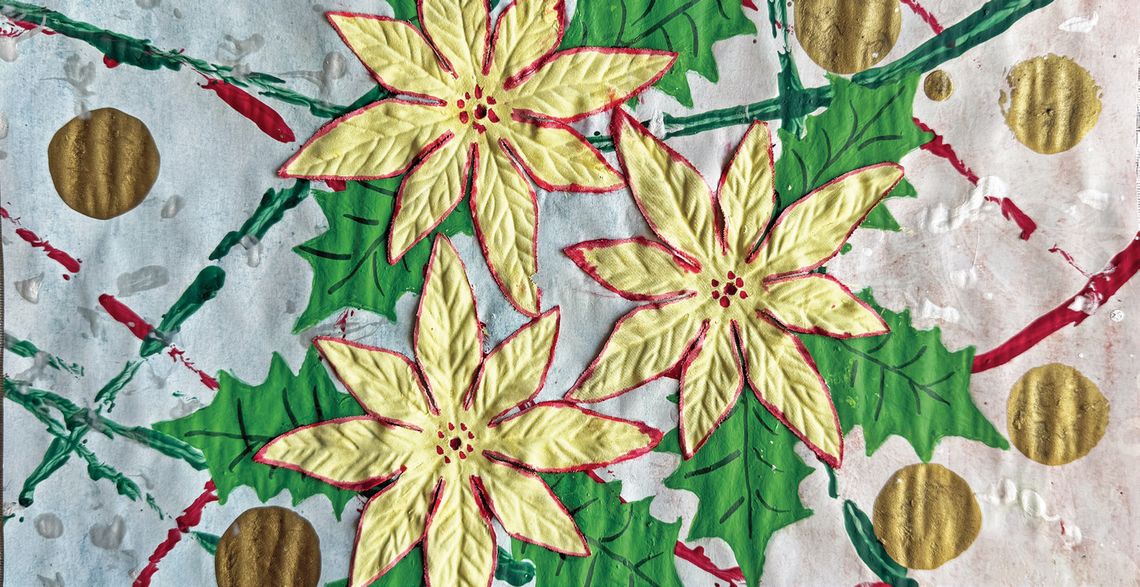
For example, in the first picture, I used several techniques. Wrapping paper was taped down inside a shallow tilted cardboard box. The background was lightly shaded with pastel chalks. Small globe ornaments were dipped in green and red paint, then rolled one at a time across the paper. A broken snowman hat was dipped in gold paint to make the dots. A holiday card was used to create a stencil for the leaves. An evergreen sprig was dipped in pearlescent paint and allowed to flick the highlights. Finally, the faded silk poinsettia flowers were painted and glued to the surface. One word of advice: plastic coated wrapping paper does buckle if it gets too wet, so several thin layers of acrylic are better than one thick layer. It also helps to “stretch” the paper during drying by leaving it taped to a firm surface.
In the second image, I used a brayer to apply black paint to the back of wrapping paper. After drying the background, blue and white tissue paper as well as painted shapes of cut from wrapping paper and cards were affixed. Gesso was used to glue things down. After this step dried completely, a topcoat of gesso was applied. Again, thin coats yield better results. The dried work was fairly rigid even though I was using a really lightweight wrapping paper for the base.
As for those mixed media enthusiasts out there, not only can you use all of the above techniques for your work, but you can also create assemblage. Wrapping paper can be torn, layered, crumpled and glued to armatures to create a shape and to add texture. You may have to lightly sand shiny surfaces for good glue and paint adherence. (Do a small test to see.) Arrange and adhere the larger objects such as the bows, globes, fake flowers and the evergreen sprigs to an armature and spray the entire object with auto paint primer. From there you can repaint with a monochrome color, a more complex multicolor, or a spray metallic paint. (I like a shiny mirror finish.)
The more you think about the possibilities, the more ideas will pop up in your head. That’s where the wrapping paper comes in handy again. Usually, the flip side of unrecycled paper is unfinished, slightly rough. It is great for making sketches of your ideas. Cut out sketchbook size pieces from the used wrapping paper and bind them together to make a sketchbook that you can carry with you.
This holiday season as you stare at the unopened gifts, I hope that your imagination is filled with the thrill of what may be inside, as well as the plans you have for the holiday packing wrapped around it.
Cheers and have a wonderful holiday season!

.png)


